Ah, dumpster diving. I love it so.
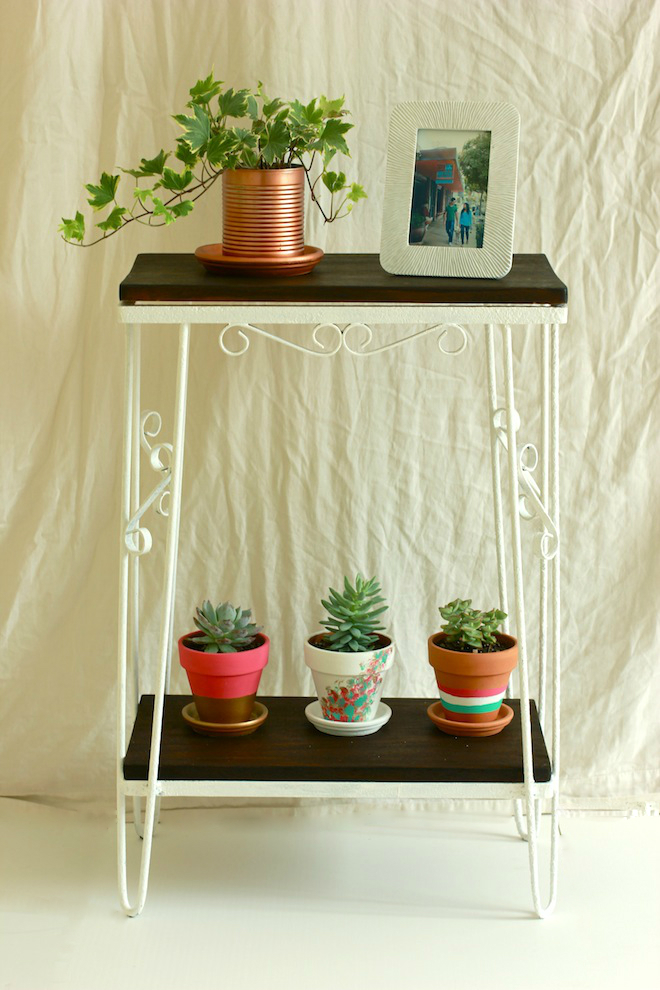
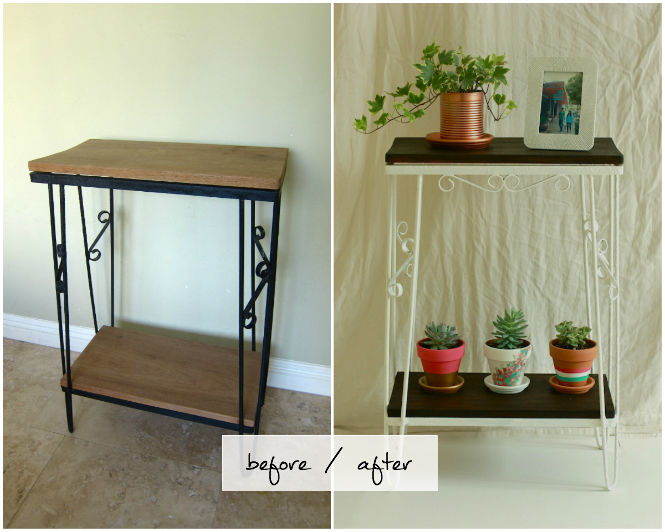
Remember that simple, sort of blasé two-tier shelf I had Instragammed in April? Well, I finally got around to giving it some TLC, and here’s the end result! Thanks to everyone who chimed in with ideas. In the end I went with a white metal frame—à la Maggie‘s suggestion—and dark wood shelving because there is something so crisp and modern about a rich brown against a white frame.
Here’s how I did it:
Supplies (with links to the actual brands and colors I used):
- Primer
- White paint
- Paint brush (I used a 2-inch Ace brand brush that’s not online; it’s not great, it does the trick)
- Wood stain (Jacobean color)
- Old white T-shirt (a brush will soak up too much wood stain)
- Tarp to cover your space
Instructions (Read instructions on all paint, primer, and stain cans before using! I’ve simplified the instructions here):
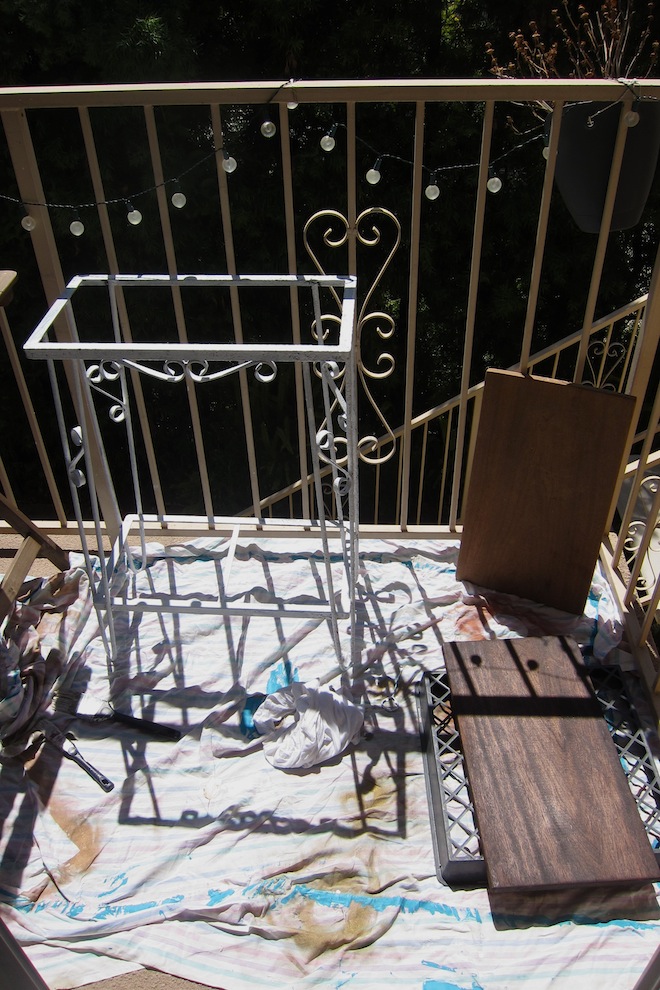
First I cleaned the whole piece to ensure that no dust (or dog hair) remained and began work on the frame. After applying primer and allowing it to dry for an hour, I painted the frame, which was the hardest part of the project thanks to all the nooks and crannies. When I walked down the stairs to get the mail and had a different view, I discovered that I missed an entire side. So just take your time if you have a similar DIY.
Also, I should’ve kept the wood boards farther away from my paint station because tiny flecks of white paint got on the boards and couldn’t be covered with wood stain. It’s not that noticeable, but of course I know they’re there. And then a little wood stain got on the balcony thanks to a hole in my tarp. I’m seriously the worst.
The wood part was fun because I’ve never worked with a stain. I propped up each slab on a large, shallow basket, poured just a little stain, and spread it in the direction of the wood grain with an old tee. I could’ve worn gloves, but I didn’t have any. Just make sure to wash your hands (very) thoroughly afterward if you’re unprepared/lazy like me. I was happy with the color after just one coat, which was a little more than 1/4 cup for both boards. But if you’d like multiple coats, make sure to let the stain dry for 4-6 hours first.
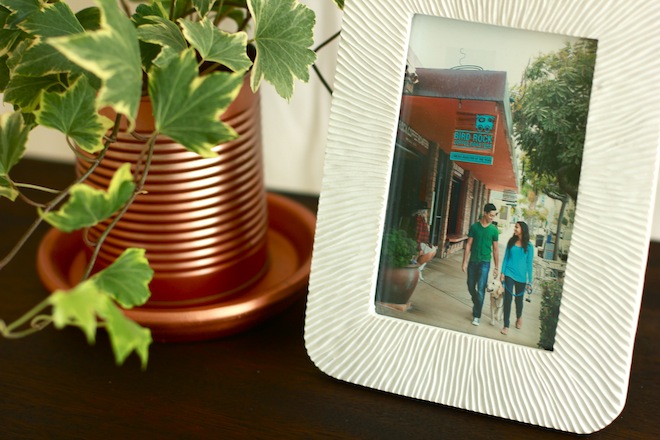
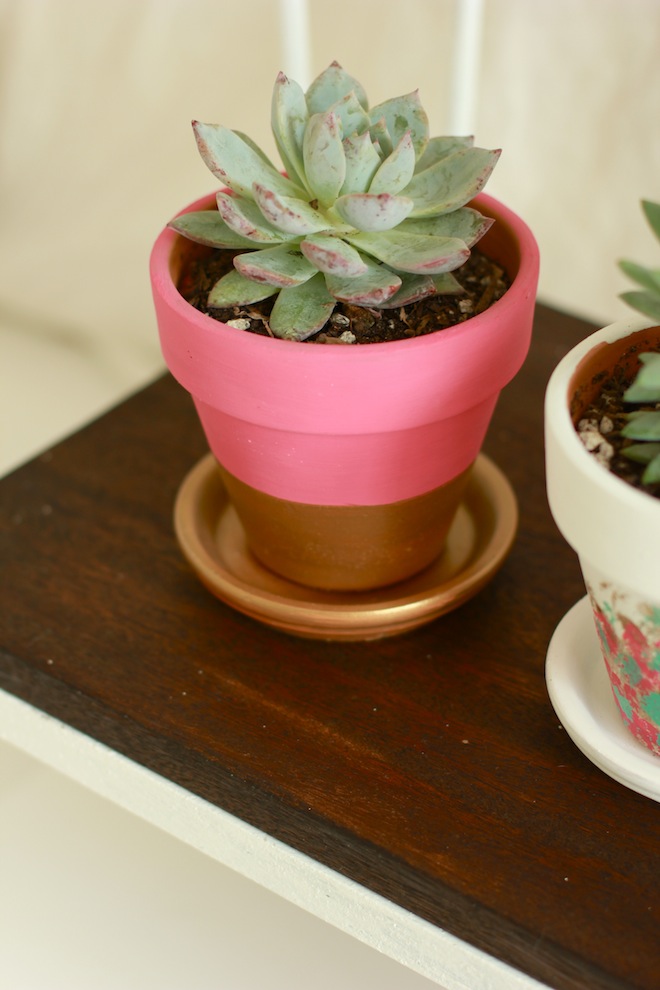
It took just one afternoon and the next day, I had a very cute stand that finally occupies a formerly awkward, empty space in our bedroom. I filled it with these DIY terracotta pots, an ivy that now lives in a tomato can I spray painted copper, and pretty much the only picture of me, Eaman, and Teddy, courtesy of Found Creative Studio. It was shot for the March issue of San Diego Magazine, and I love that it’s a portrait of our little family in our new city next to our favorite coffee shop.
That deserves a beautiful stand to set it on, no?

Hey, that looks really amazing! I wish I had at least the time to do something like that but with kids, life gets a little hectic. I found a handyman at jobquotes.com though who restored an old coffee table that I have and it turned out really nice! The colors are almost the same that you used here on the shelves.